1. We prepare the car for operations (see "Vehicle preparation for maintenance and repair").
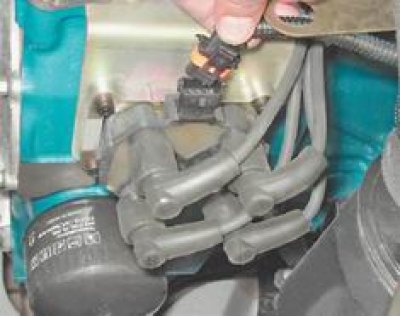
2. Having released the latch, disconnect the block of the wiring harness from the ignition coil.

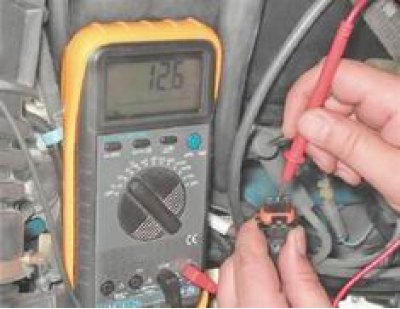
3. Connect "negative" voltmeter probe to "mass" engine and, turning on the ignition, measure the supply voltage at the output "15" (average) wiring harness pads.

The voltage must be at least 12 V. If the voltage is not supplied to the block or it is less than 12 V, there is a malfunction in the power circuit, the battery is discharged or the computer is faulty.
4. Turn off the ignition.
5. Remove the air filter housing (see "Air filter housing - removal and installation").
6. We clean the coil from dirt.
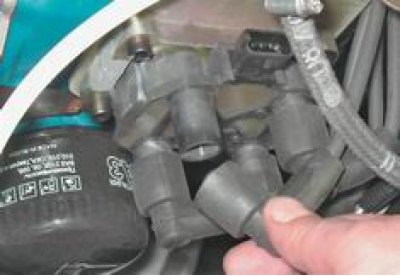
7. Disconnect the tips of the high-voltage wires from the ignition coil.

8. We connect alternately the ohmmeter probes to the high-voltage terminals of the coil 1-4 and 2-3 and measure the resistance of the secondary windings. For a working coil, it should be in the range of 5.0-6.0 kOhm.
9. To check the short circuit of the primary windings on "mass" connect the ohmmeter leads to the middle terminal "15" connector and to the metal part of the coil housing. If the resistance tends to infinity, there is no short circuit.
10. To check for an open circuit in the primary windings, we connect the ohmmeter probes to the extreme terminals "1a" And "1b" coil connector. If the resistance tends to infinity, then an open circuit has occurred in the circuit and the coil must be replaced.
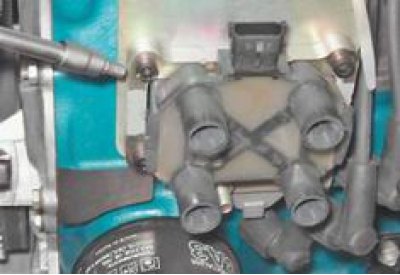
11. To remove the ignition coil with a hex wrench by 5 mm unscrew the four fixing screws and remove the coil.

Installation
Installation of the ignition coil is carried out in the reverse order. At the same time, we connect high-voltage wires to the coils in accordance with the cylinder numbers printed on the coil body next to the terminals.
