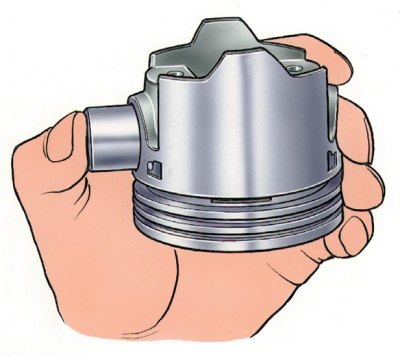
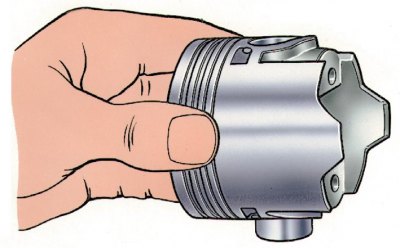
Piston pin installation

The piston pin should be installed with a simple push of the thumb.
Checking the fit of the piston pin

The pin is pressed into the upper head of the connecting rod with an interference fit and rotates freely in the piston bosses.
Attention! According to the outer diameter, the fingers are divided into three categories through 0.004 mm. The category is indicated by a colored mark on the end of the finger: a blue mark is the first category, a green mark is the second, and a red mark is the third.
Piston pin-to-piston mating is checked by inserting a pin, previously lubricated with engine oil, into the bore of the piston boss. For proper mating, it is necessary that the piston pin enters the hole by simply pressing the thumb (see fig. Piston pin installation) and did not fall out of the boss (see fig. Checking the fit of the piston pin), if you hold the piston with the piston pin in a vertical position.
Replace the finger that falls out of the boss with another, of the next category. If there is a third category finger in the piston, then the piston with the finger is replaced.
