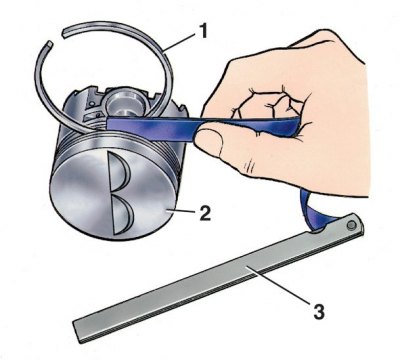
Checking clearance between piston rings and grooves

1 – piston ring; 2 - piston; 3 - a set of probes
Height gap check
Check the height gap between the grooves and the rings as shown in the figure by inserting the ring into the corresponding groove.
Nominal (estimated) the gap for the upper compression ring is 0.045–0.08 mm, for the second - 0.025–0.06 mm and for the oil scraper - 0.02–0.055 mm. The maximum allowable wear gaps are 0.15 mm.
Lock clearance check
Check the gap in the lock of the piston rings with a set of feelers, inserting the rings into a gauge having a hole diameter equal to the nominal diameter of the ring with a tolerance of±0.003 mm. For normal size rings, caliber 67.8125.9501 can be used.
The gap should be between 0.25-0.45 mm for all new rings. The maximum allowable wear gap is 1 mm. If the gap is insufficient, file the butt surfaces, and if it is increased, replace the rings.
