Removing
1. We prepare the car for operations (see "Vehicle preparation for maintenance and repair").
2. We turn out the spark plugs (see "Spark plugs - condition check and replacement").
Attention! When performing the following operation (after removing the camshaft housing) it is recommended to mark the location of the valve actuating levers.
3. Remove the housing assembly with the camshaft, valve actuator levers and springs (see "Camshaft and valve levers - replacement").
When removing the camshaft, the pistons of the 1st and 4th cylinders were set to the TDC position, which would prevent the valve from falling into the cylinder after removing the crackers. In this position, we replace the caps on the valves of the 1st and 4th cylinders.
4. We install a rod of tin solder with a diameter of about 8 mm through the candle hole between the piston and the valve plate.
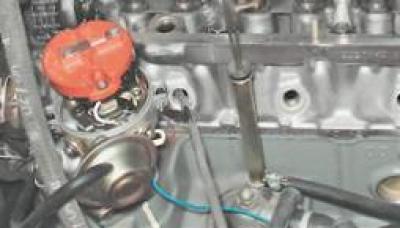
5. We install the pressure bracket of the cracker on the spring plate, fixing the support bracket with a nut screwed onto the bearing housing mounting stud.
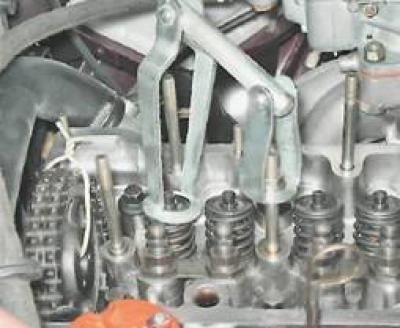
6. After squeezing the valve springs with a cracker, we remove two crackers from its groove.
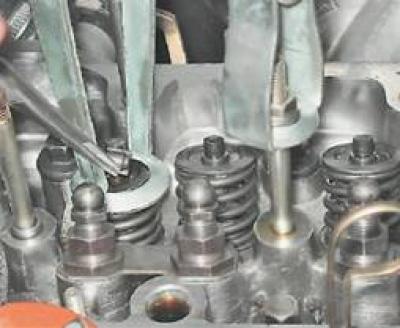
After unscrewing the nut, remove the cracker. 7. Remove the spring plate.
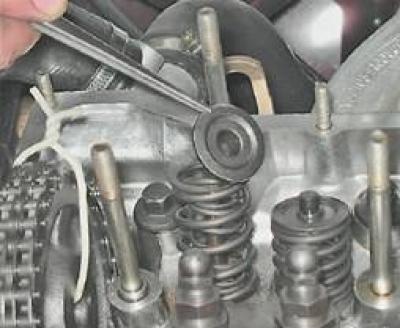
8. Remove the outer and inner springs.
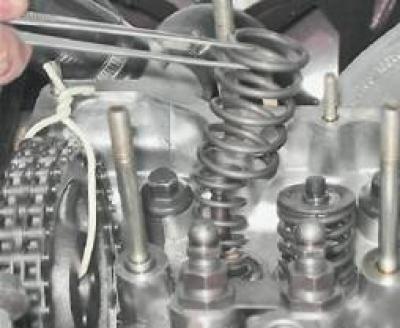
9. Remove the support washer of the inner spring.
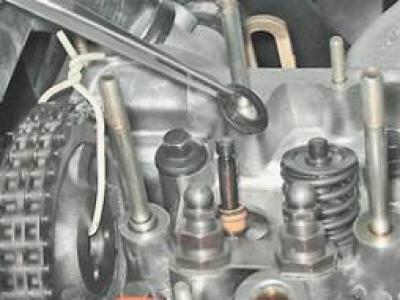
10. We install the collet of the inertial puller on the cap to remove the caps and, by hitting the upper striker against the lower one, compress the collet. By striking with the upper striker on the puller nut, we press the cap from the valve guide.
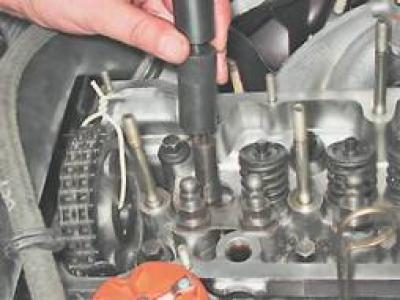
Installation
1. If a mounting sleeve is included in the set of new caps, then to prevent damage to the working edge of the cap, we put the sleeve on the valve stem.
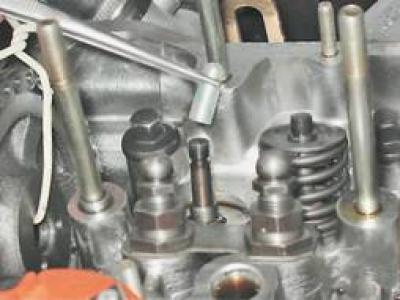
2. Lubricate the inner surface of the cap with engine oil and move it along the mounting sleeve until it stops against the valve guide sleeve. Remove the mounting bushing.
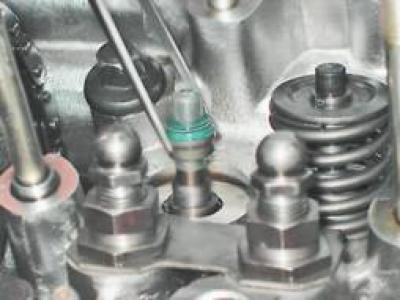
3. Using the mandrel included in the puller kit, press the cap onto the valve guide.
4. Install the parts removed from the valve in reverse order.
5. We take out the solder bar and apply a few light blows with a hammer on the end of the valve stem for self-installation of crackers.
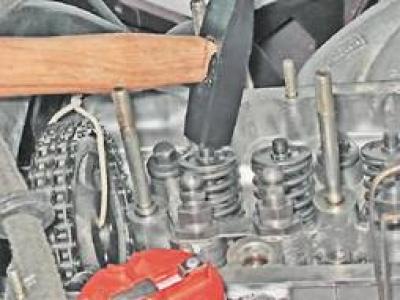
6. Similarly, we replace the caps of the remaining valves of the 1st and 4th cylinders.
7. We turn the crankshaft 180°and, holding the camshaft sprocket with the chain, set the pistons of the 2nd and 3rd cylinders to the TDC position.
8. We replace the valve caps of the 2nd and 3rd cylinders.
9. After replacing the caps, turn the crankshaft 540°to set the piston of the 4th cylinder to the TDC position of the compression stroke.
10. We install the housing with the camshaft on the cylinder head studs and evenly tighten the fastening nuts (see "Camshaft and valve levers - replacement").
11. We untie the wire, install the sprocket with the chain on the camshaft, wrap the mounting bolt and counter it by bending the petals of the lock washer.
12. We check the coincidence of labels.
13. "We charge" chain tensioner and, having installed it in its original place, "unloading" (see "Timing chain tensioner - replacement") and adjust chain tension (see "Timing chain - replacement").
14. Adjust the gap between the levers and camshaft cams (see "Clearance between valve levers and camshaft lobes - adjustment").
Installation
Install all removed parts in reverse order.
