You will need a 3-arm puller and fixing adhesive to get the job done.
Removing
1. We install the car on a viewing hole or overpass (see "Vehicle preparation for maintenance and repair").
2. On a car with an injection system, remove the heat shield (see "Cardan transmission - removal and installation").
3. Disconnect the cardan shaft from the rear axle gearbox and unscrew the two bolts securing the intermediate support of the driveline to the cross member (see "Cardan transmission - removal and installation").
4. We disconnect from the flange on the secondary shaft of the gearbox the elastic coupling of the driveline (see "Cardan gear - disassembly and assembly") and shift the driveline back.
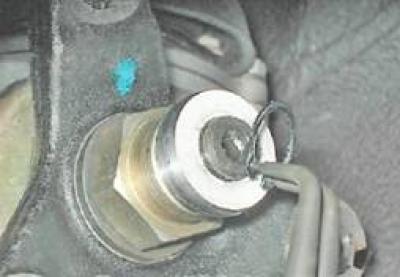
5. Remove the thrust ring with tongs.
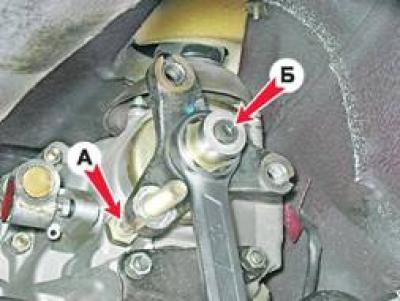
6. We fix the flexible coupling flange from turning by inserting bolt A into its hole. Unscrew the flange fastening nut with a 30 mm wrench and shift the centering ring B of the elastic coupling along the shaft.
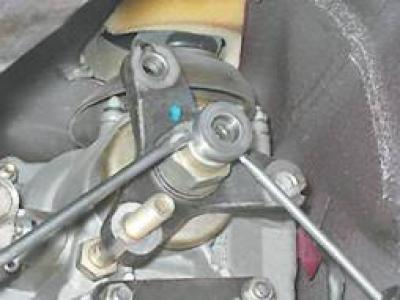
7. Having screwed the nut a few turns, we hook the centering ring with two slotted screwdrivers and remove it from the output shaft of the gearbox.
8. Turn off the nut.
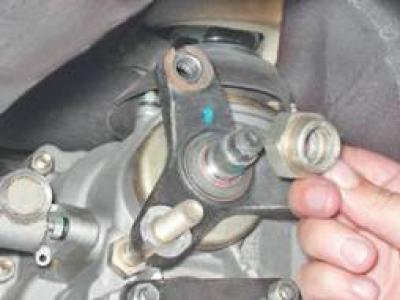
9. Remove the bolt from the flange hole.
10. Having rested the screw of the three-jaw puller on the end of the secondary shaft, we press the flange from the shaft.
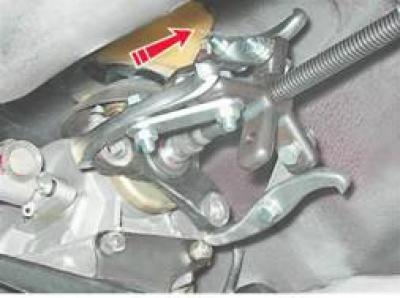
11. Remove the flange along with the washer.
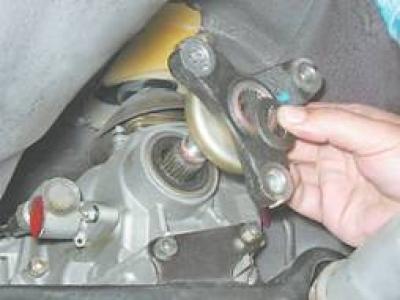
12. Using sliding pliers, we remove the damaged oil seal.

Installation
Attention! Before installing the stuffing box, check the condition of the inner cylindrical surface of the flange in contact with the stuffing box. There may be traces of corrosion and wear on it, which should be removed by polishing.
Before installation, lubricate the surfaces of the new oil seal with a thin layer of grease.
1. We press in the stuffing box with a mandrel of a suitable diameter.
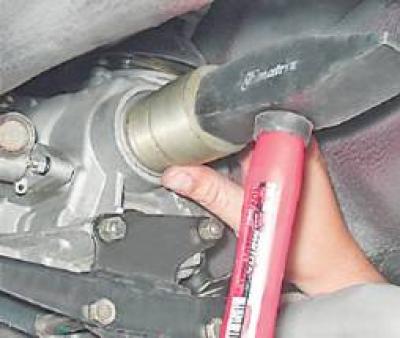
For clarity, the following operation is shown on the removed gearbox.
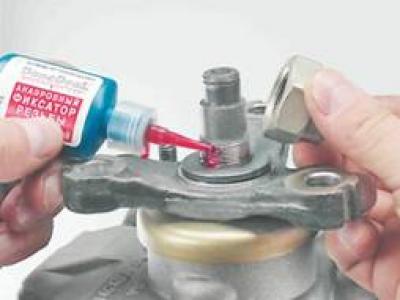
2. Press the flange onto the shaft with a hammer. After installing the washer, apply fixing glue to the threaded surface of the shaft (according to instructions for use) and turn the nut.
3. Installation of the remaining removed parts is carried out in reverse order.
