
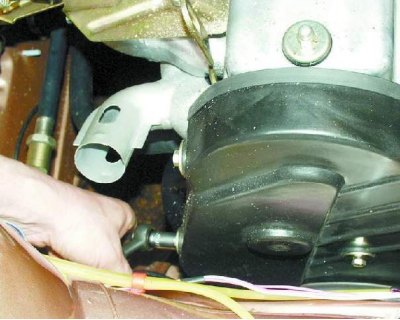
Before the beginning: remove alternator belt (see subsection 3.8.).
1. Remove the three bolts and remove the camshaft drive front cover.
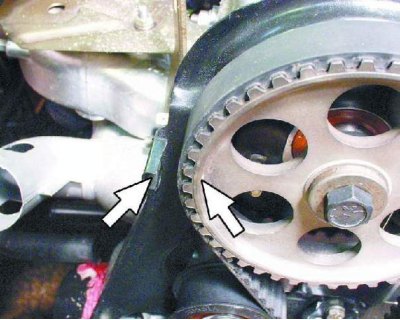
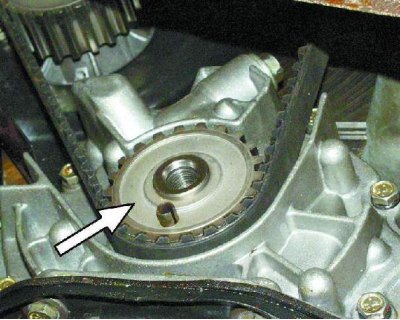
2. Set the piston of the first cylinder to the top dead center. To do this, turn the crankshaft by the crankshaft pulley mounting bolt so that the mark on the camshaft pulley is opposite the mark (antennae) on the rear cover of the camshaft drive.

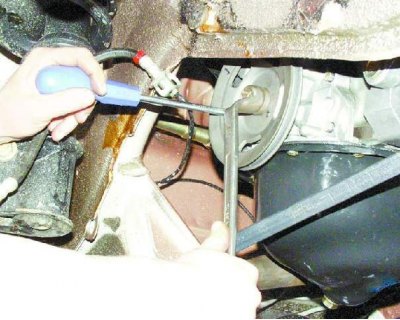
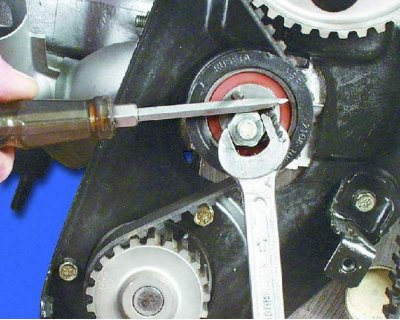
3. Loosen the crankshaft pulley bolt, securing the crankshaft from turning with a screwdriver.
4. Remove the pulley from the crankshaft.
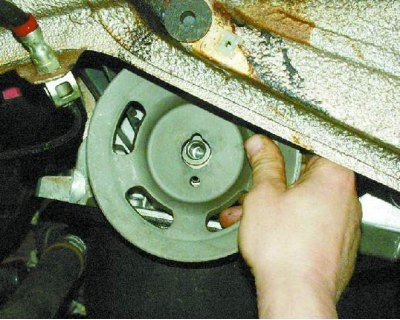
5. Loosen the idler pulley mounting nut and turn the pulley to loosen the belt tension.
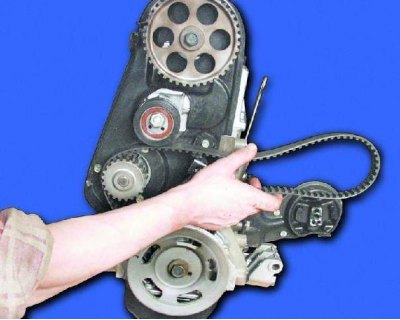
6. Remove the worn camshaft drive belt.
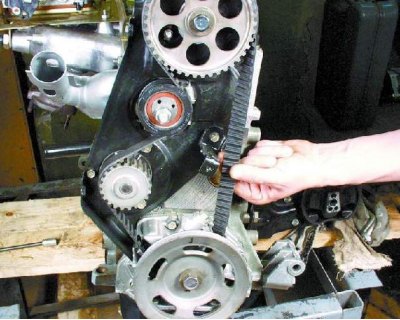
7. Install a new belt on the crankshaft sprocket...
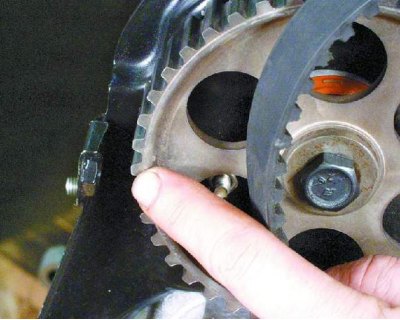
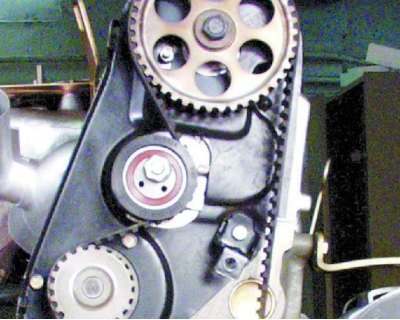
8.... then on the camshaft pulley, pulling the drive branch of the belt so that it does not sag. Make sure the marks on the pulley and back cover match.
9. Put the belt on the water pump gear and tension roller.
10. Install the crankshaft pulley and tighten its fastening bolt to 99-110 N·m (9.9-11.0 kgf·m).
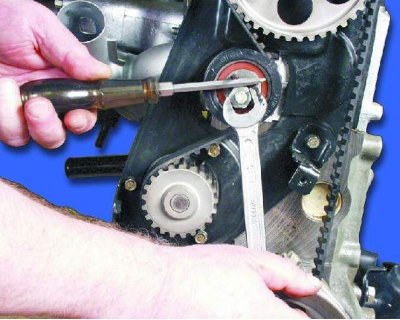
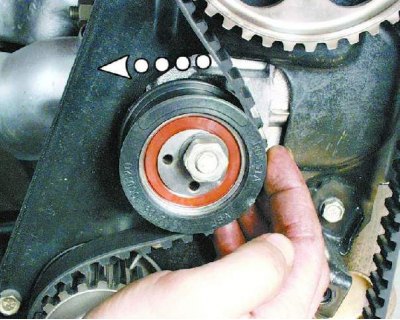
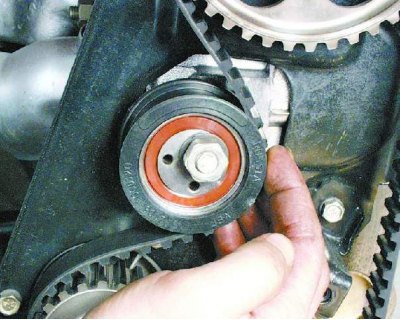
11. Tension the belt by turning the roller accordingly and tightening the nut of its fastening (see note).
12. With the correct tension, the belt can be rotated 90°with two fingers (force 15–20 N). Rotate the crankshaft two turns and check the belt tension again. Repeat the adjustment if necessary.
Note. A special wrench is required to tighten the belt. If there is no key, insert two metal rods of suitable diameter into the roller holes. Fix a screwdriver between the rods and turn the roller, thereby pulling the belt. Then tighten the nut.
13. Install the front camshaft drive cover. Then install the alternator drive belt and adjust its tension (see subsection 3.8.).