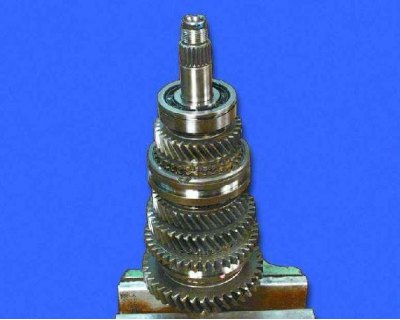
Warning. The output shaft must be clamped in a vice, with soft pads on the jaws, behind the inner ring of the front bearing. Tighten the vise so that the shaft can be tilted by hand, otherwise the bearing race surface may be damaged.

1. Clamp the shaft in a vise with soft metal jaws with little force.
2. Using two pry bars, press the output shaft rear bearing.
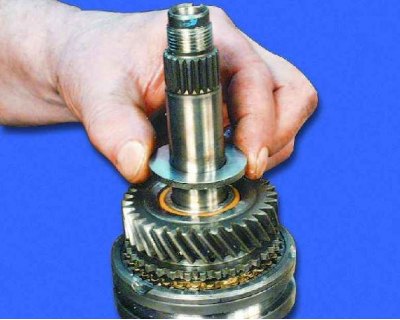
3. Remove the thrust washer.
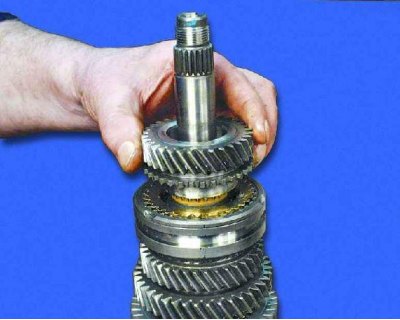
4. Remove the 4th gear driven gear.
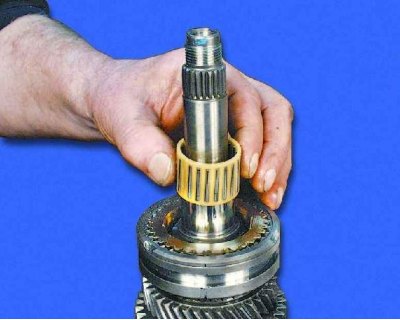
5. Remove the 4th gear needle bearing and mark it.
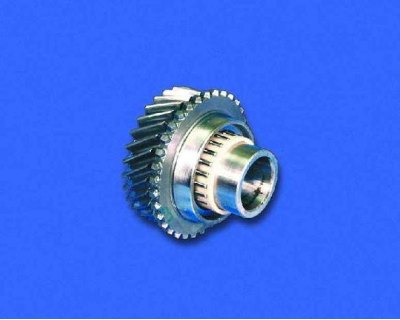
Be sure to mark the needle bearings and bushings according to the gear number. When assembling, they must be installed in the same places. It is most convenient to insert an appropriate needle bearing into the gear and (where is she) sleeve...
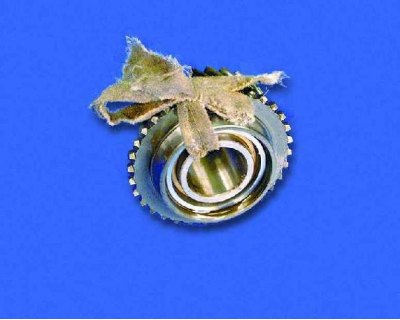
...and tie them with rope or wire.
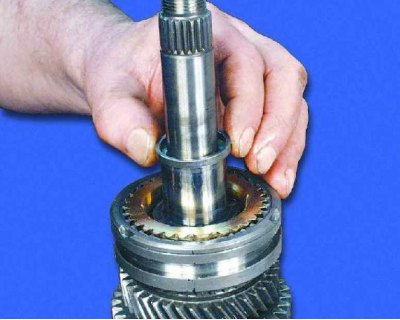
6. Remove the distance ring.
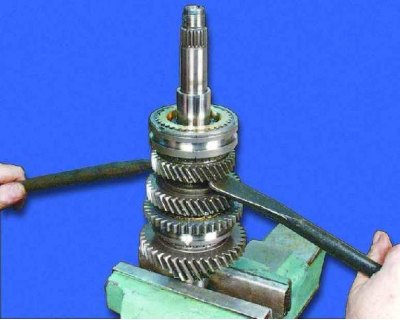
7. Using two pry bars through the 3rd gear, slide the 3rd and 4th gear synchronizer off the shaft splines.
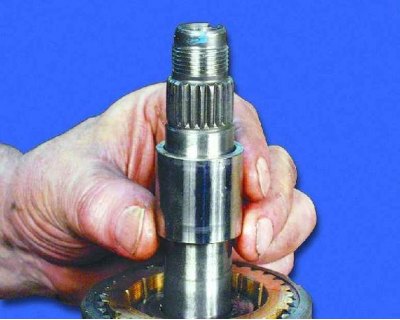
8. Remove the 4th gear needle bearing bush.
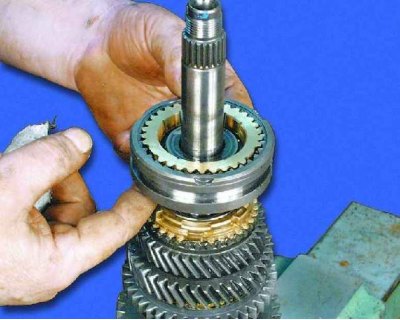
9. Remove the 3rd and 4th gear synchronizer with the 4th gear blocking ring. Mark the blocking ring with respect to the synchronizer sleeve.
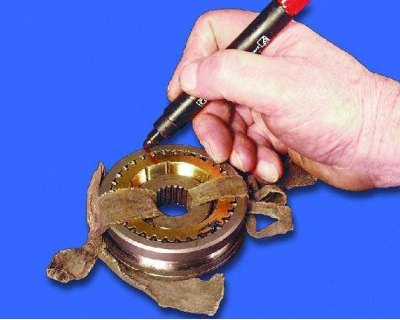
Warning. Be sure to mark the locking rings with respect to the coupling. During operation, the teeth of the rings are run in to the teeth of the coupling, therefore, when assembling the rings, they must be installed in the same position.
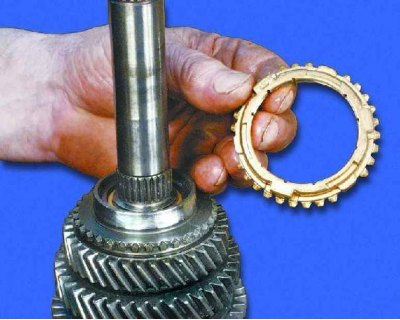
10. Remove the 3rd gear blocking ring and mark it against the synchronizer clutch.

If you do not intend to disassemble the synchronizer, tie it with a rope or wire so that it does not fall apart.
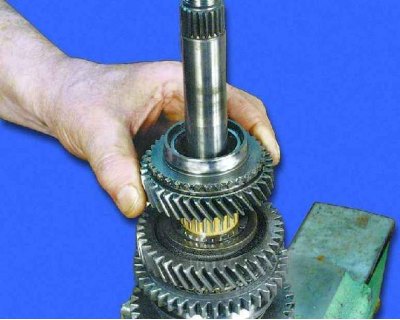
11. Remove the 3rd gear.
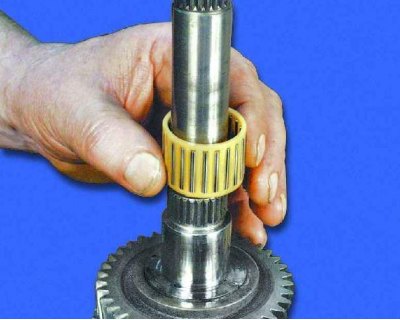
12. Remove the 3rd gear needle bearing and mark it.
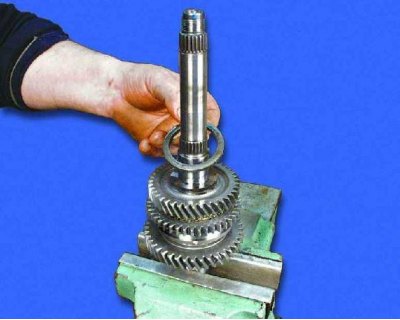
13. Remove a lock ring of persistent half rings.
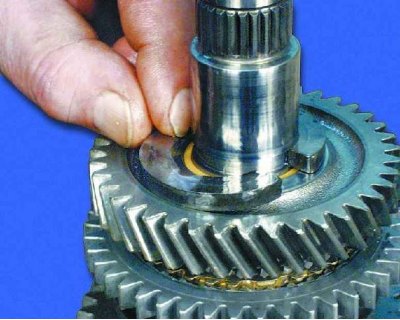
14. Remove two persistent half rings.
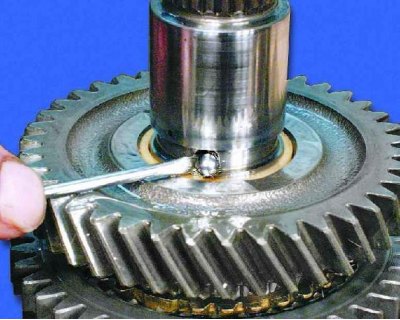
15. Remove the locking ball from the hole in the shaft.

16. Remove the 2nd gear.
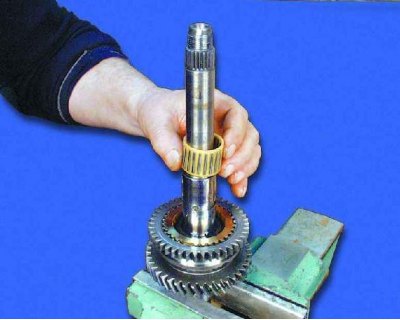
17. Remove the 2nd gear needle bearing and mark it.

18. Remove the snap ring.
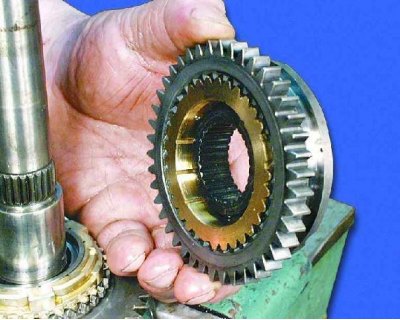
On the synchronizer of the 1st and 2nd gears, a gear rim of the reverse gear is made.
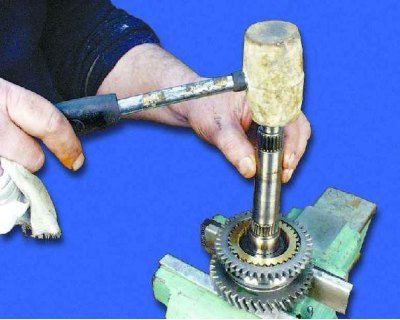
19. Install the 1st gear shaft on the jaws of a vise and, by hitting the shaft with a wooden mallet, press the 1st and 2nd gear synchronizer from the shaft splines.
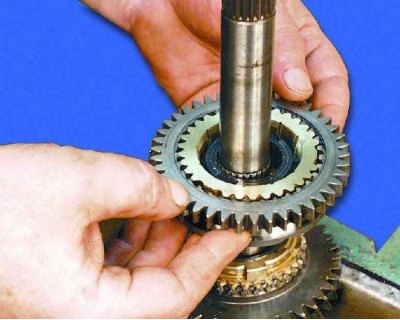
20. Remove the 1st and 2nd gear synchronizer with the 2nd gear lock ring.
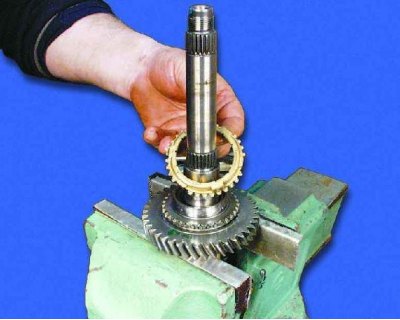
21. Remove the 1st gear blocking ring and mark it against the synchronizer clutch.
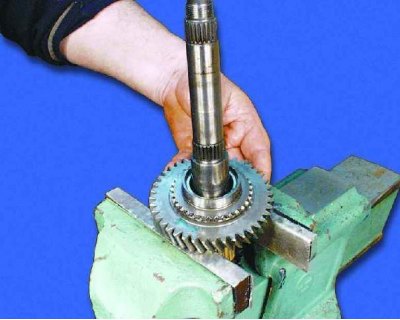
22. Remove the 1st gear.
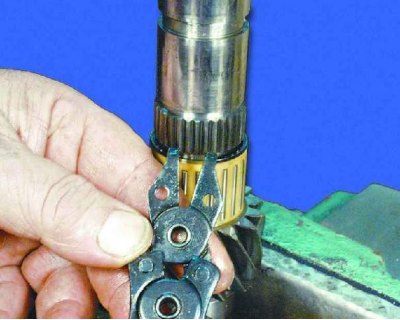
23. Remove the snap ring.
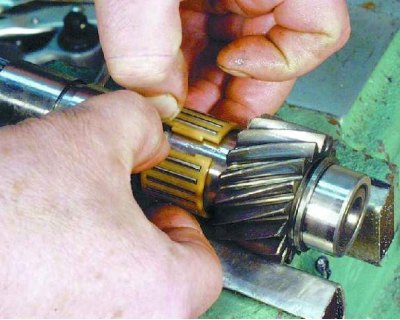
24. Slightly open the lock of the 1st gear needle bearing and remove the bearing by sliding it along the shaft. Label the bearing.
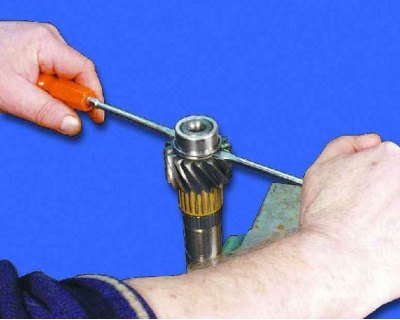
25. Turn the shaft over and use two large screwdrivers to compress the inner race of the shaft front bearing. Then remove the thrust washer.
