Check the details carefully. Cracks of any nature on the piston, piston rings, pin, on the connecting rod and its cover are not allowed. If there are deep marks on the working surface of the liners, replace the liners with new ones.
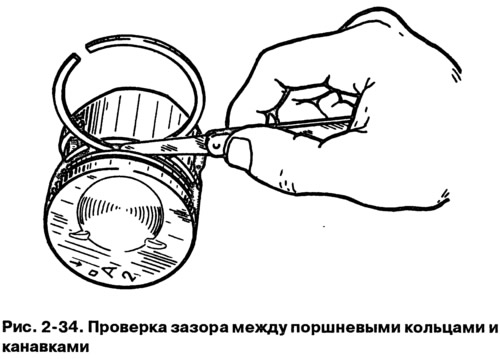
Gap between piston rings and grooves check with a set of probes, as shown in fig. 2-34 by inserting the ring into the corresponding groove. Estimated gap (rounded to 0.01 mm) for new parts it is 0.04-0.07 mm for the upper compression ring, 0.03-0.06 mm for the lower one and 0.02-0.05 mm for the oil scraper. The maximum allowable wear gaps are 0.15 mm.

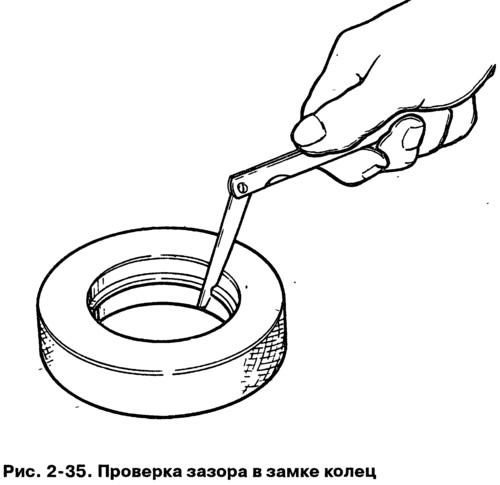
Gap in the castle check the piston rings with a set of feeler gauges, inserting the rings into the caliber (pic. 2-35), having a hole diameter equal to the nominal diameter of the ring with a tolerance of±0.003 mm. For normal size rings with a diameter of 82 mm, caliber 67.8125.9502 can be used.

The gap should be in the range of 0.25-0.45 mm for all new rings. The maximum allowable wear clearance is 1 mm.
