- pliers
- screwdriver
- two keys "at 13"
Remove the exhaust pipe (see subsection 10.11.2.). The main muffler is removed when it is mechanically damaged, cracks appear in the welds, through burnout, corrosion, as well as when replacing other elements of the exhaust system.
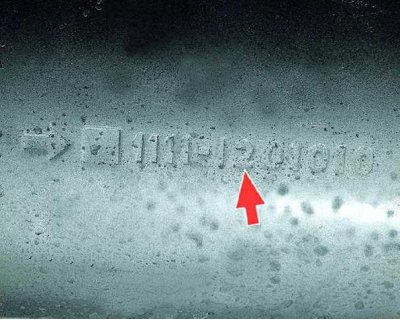
Pay attention to the markings on the muffler body. The new muffler must have the same marking, as there are non-interchangeable exhaust system options. The arrow next to the marking indicates the direction of the exhaust flow.
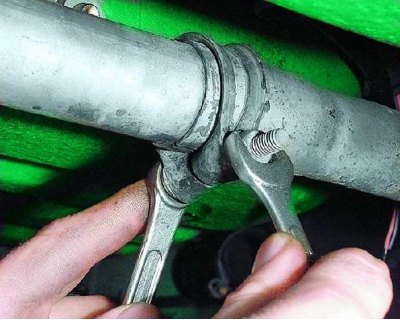
1. While holding the clamp bolt with a wrench, unscrew the nut 3-5 turns with the second wrench. Loosen clamp fit (see subsection 10.11.2., operation 2), pushing its branches apart with a screwdriver, and...
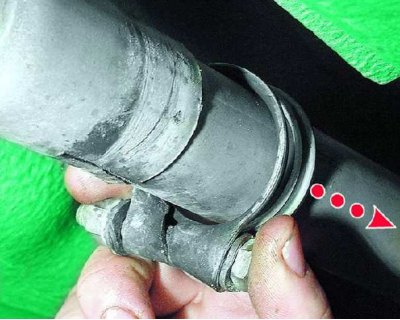
2.... slide the clamp onto the pipe of the additional muffler. Loosen the fit at the junction of the nozzles (see subsection 10.11.2., operation 3). Disconnect the lower ends of the main muffler suspension pads from its brackets (see subsection 10.11.1.). The pillows can not be removed from the brackets on the base of the body.
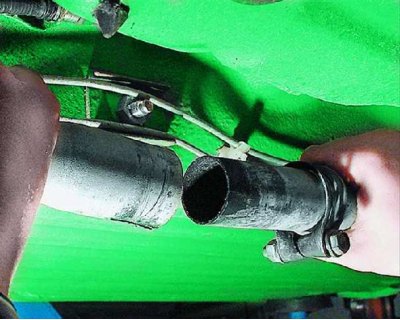
3. Swinging the nozzles of the additional and main mufflers and turning them along the axis, slide the main muffler pipe from the additional pipe and remove the main muffler.
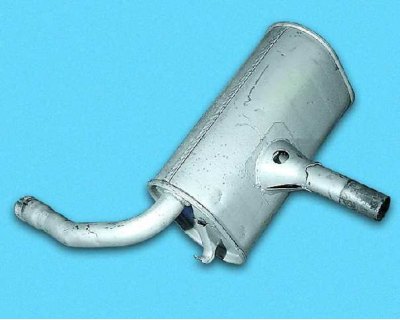
4. Install the main muffler in the reverse order of removal. To increase the tightness of the connection, we recommend lubricating the inner surface of its branch pipe with a special sealant for exhaust systems. We recommend replacing the clamp with a new one every time the system is dismantled.
