- two screwdrivers (with flat and cross blades)
- key "for 8"
- caliper with depth gauge shank
Remove the air filter (see subsection 10.10.1.).
The fuel level in the float chamber affects the parameters of all carburetor systems. Exceeding the optimal level increases fuel consumption, worsens the start and operation of a warm engine. At an excessively low level, engine power is reduced, its cold start is difficult and jerks appear when the car accelerates.
Adjust the fuel level with the carburetor cover removed.
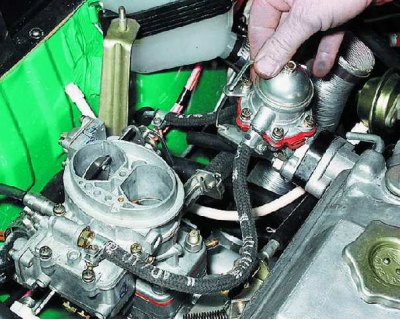
1. Fill the float chamber with gasoline using the fuel pump manual priming lever until the fuel valve closes and the level stabilizes (at this point, the force on the manual pumping rod will drop sharply).
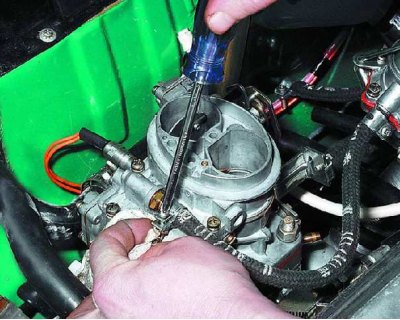
2. Loosen the fuel hose clamp and...
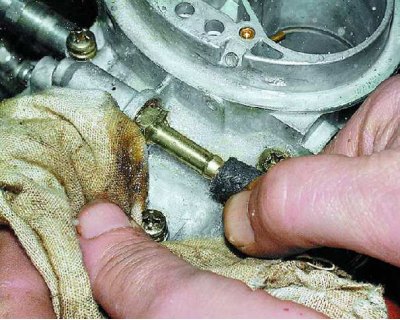
3.... remove the hose from the carburetor fitting.
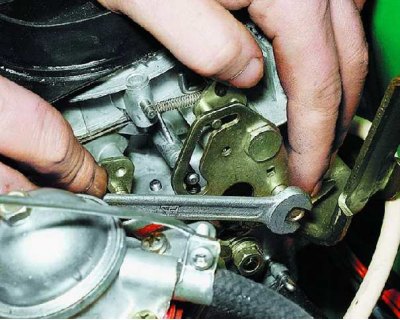
4. Loosen the bolt that secures the linkage to the choke lever.
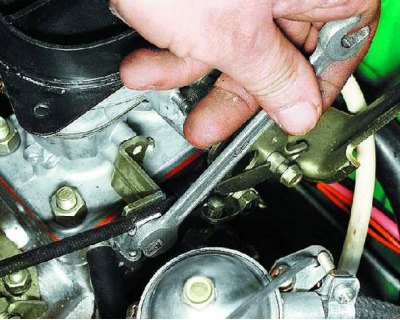
5. Using the same wrench, loosen the bolt securing the rod shell to the bracket and disconnect the rod from the carburetor.
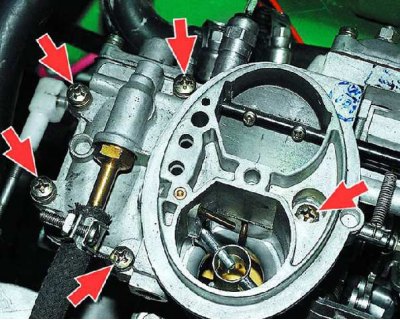
6. Remove the five screws securing the carburetor cover and...
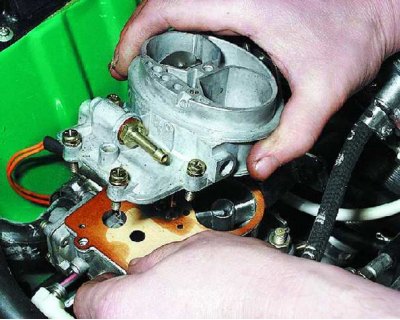
7....remove the cover. Don't lose the screws - they fall out easily when the cover is turned over.
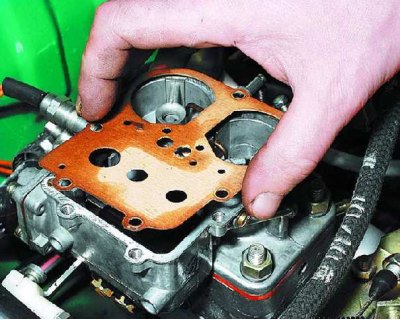
8. Carefully remove the cover gasket.
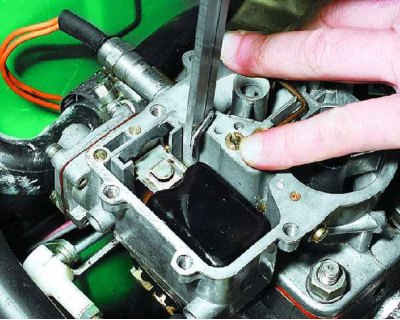
9. Using a caliper shank, measure the distance from the fuel level to the top plane of the float chamber. It should be 22–23 mm.
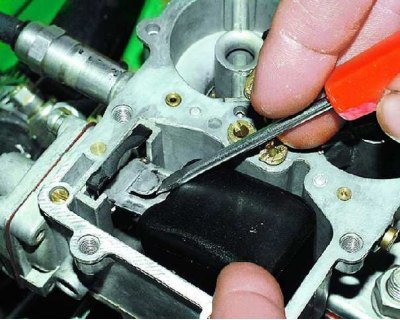
10. If the level is too high, use a screwdriver to carefully bend up the tab of the float bracket while holding the float.
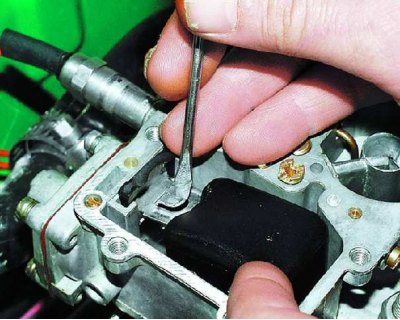
11. If the level is below normal, bend the tongue down. To check the newly set level, pump out some of the gasoline from the float chamber with a rubber bulb, reinstall the carburetor cover, connect the fuel supply hose and refill the float chamber with gasoline using the fuel pump manual priming lever. Remove the carburetor cap again and check the fuel level.
